
Have you ever woken up craving the soft, slightly crisp texture of a freshly toasted English muffin? The kind that’s perfect for a spread of butter, jam, or eggs. Now, imagine being able to enjoy this classic breakfast treat without worrying about gluten. Whether you follow a gluten-free diet for medical reasons or by choice, it’s always a challenge to find the right substitutes for your favorite baked goods.
But here’s the good news: gluten-free English muffins can give you the same mouthwatering experience you’ve been missing. In this article, I’ll walk you through everything you need to know about making perfect gluten-free English muffins, from choosing the best ingredients to the step-by-step process of baking your own batch at home. If you’re ready for a breakfast transformation, let’s dive into the world of gluten-free English muffins!
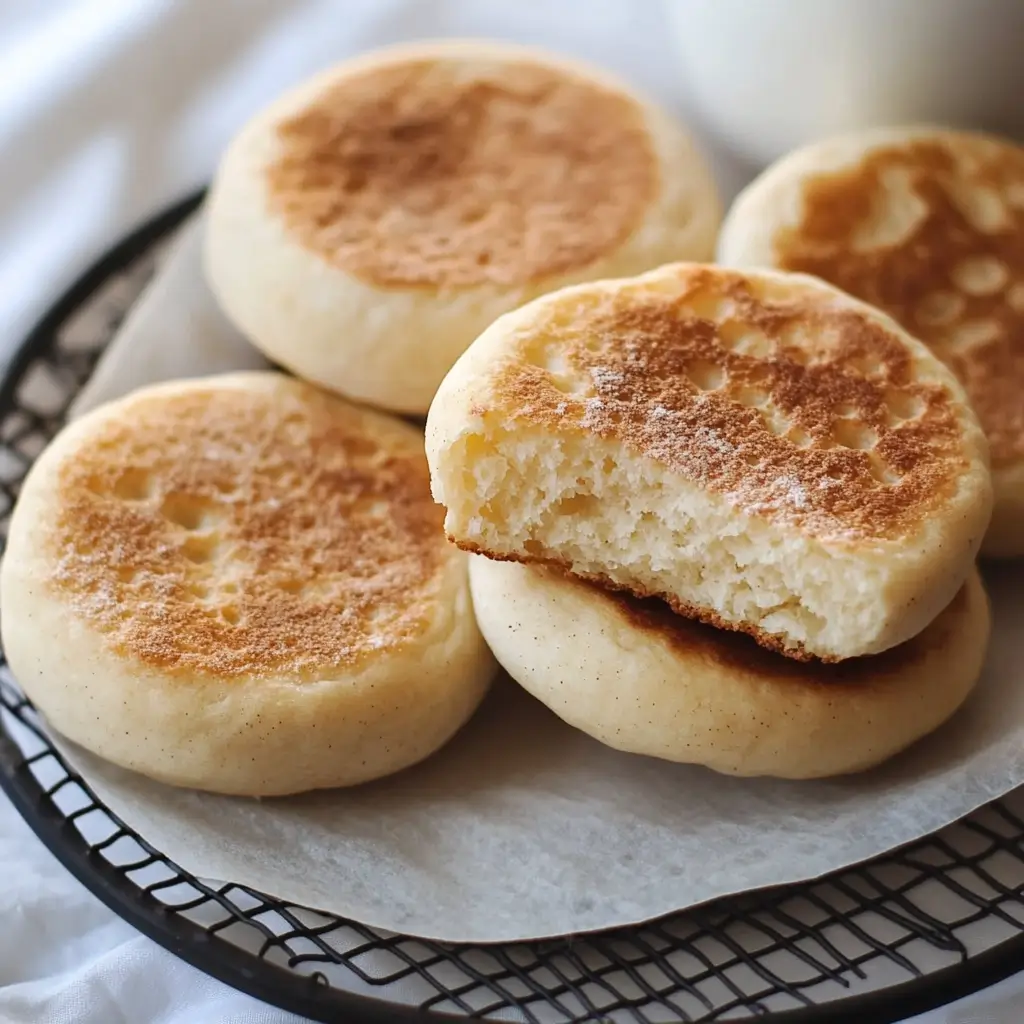
Table of Contents
What Are Gluten-Free English Muffins?
A Brief Overview of Gluten-Free English Muffins
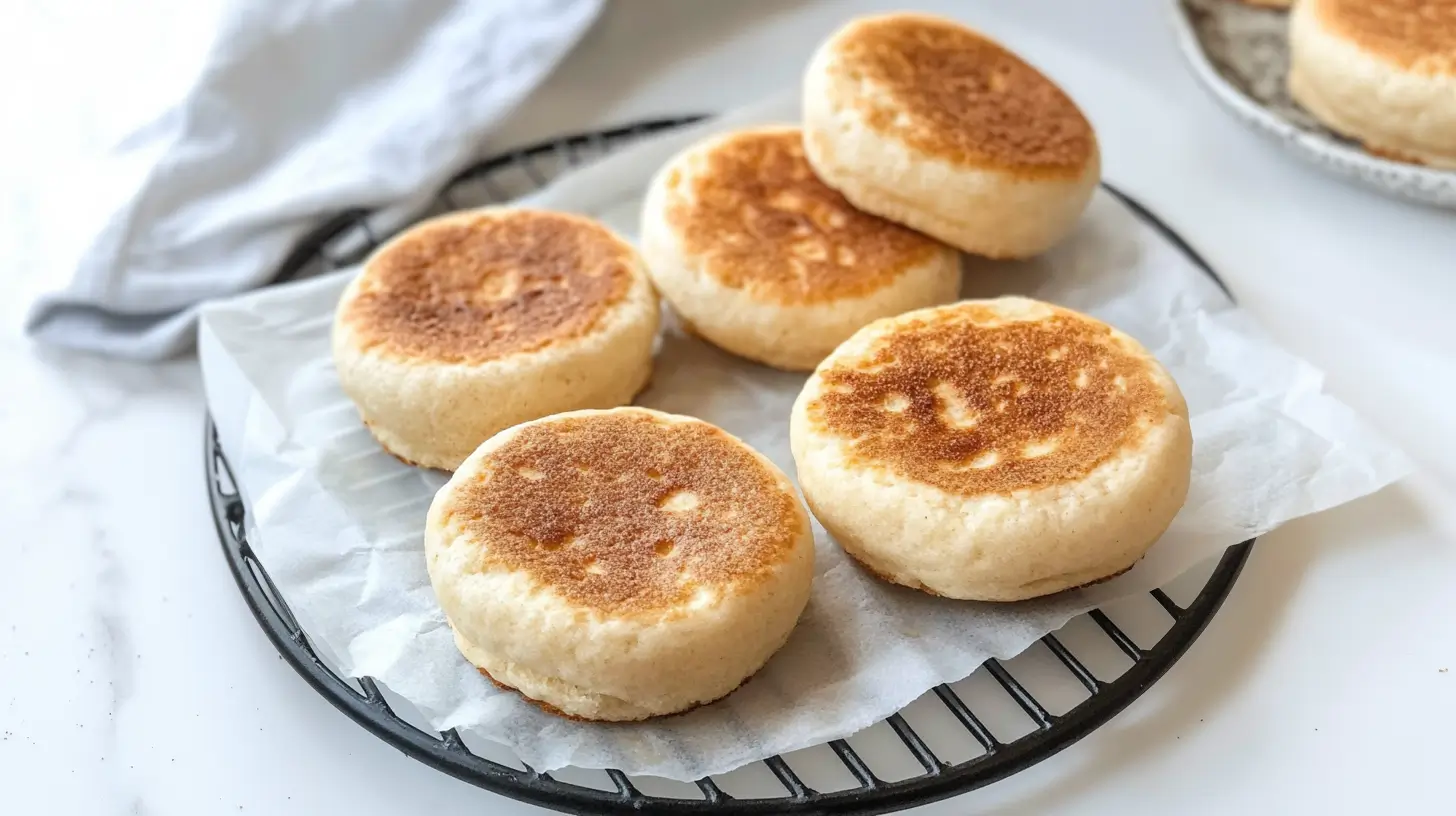
Gluten-free English muffins are a delightful version of the traditional English muffin, made with gluten-free flour blends instead of wheat flour. These muffins are designed to provide the same light, fluffy, and slightly tangy texture that makes regular English muffins so appealing—without the gluten.
The key to making gluten-free English muffins is using the right combination of gluten-free flours, binders, and leavening agents. The result is a muffin that is just as satisfying as its gluten-filled counterpart, whether you enjoy it toasted with butter or as the base for a savory breakfast sandwich.
What Makes Them Different from Regular English Muffins?
Unlike traditional English muffins that rely on wheat flour and gluten to give them structure, gluten-free English muffins achieve a similar airy texture using gluten-free flours such as rice flour, almond flour, and tapioca flour. Additionally, these muffins often require the addition of ingredients like xanthan gum or psyllium husk powder, which help mimic the elasticity and structure of gluten.
Despite the differences in ingredients, gluten-free English muffins still maintain their signature nooks and crannies that allow butter or jam to sink in beautifully. They are just as delicious and versatile as their traditional counterparts.
Why Choose Gluten-Free English Muffins?
You might wonder, “Why should I try gluten-free English muffins?” There are several great reasons to make the switch:
- Health Benefits: For individuals with celiac disease or gluten sensitivity, gluten-free muffins are a safe and satisfying option.
- Digestive Comfort: Many people find that gluten-free options are easier on their digestive systems, reducing bloating and discomfort.
- Taste and Texture: Modern gluten-free baking has come a long way, and these muffins now have a texture and flavor that’s as good, if not better, than the original.
By making gluten-free English muffins at home, you can control the ingredients and make them to your exact preferences. And with the right recipe, you won’t have to sacrifice flavor or texture to enjoy a delicious breakfast.
Essential Ingredients for Gluten-Free English Muffins
What You’ll Need to Get Started
Before you get started on your gluten-free English muffin adventure, it’s important to gather the right ingredients. The good news is that most of these are easy to find at your local grocery store or health food store.
Here’s what you’ll need to gather to create your gluten-free English muffins:
| Ingredient | Amount | Notes |
|---|---|---|
| Gluten-Free Flour Blend | 2 cups | Choose a blend with rice, potato starch, and tapioca flour. |
| Baking Powder | 1 tbsp | Essential for a light, fluffy muffin. |
| Xanthan Gum | 1 tsp | Helps bind the dough together. |
| Eggs | 2 large | Provides structure and moisture. |
| Milk (or Almond Milk) | 1 cup | For consistency; use dairy-free if needed. |
| Sugar | 2 tbsp | Optional for a slightly sweet flavor. |
- Gluten-Free Flour Blend: The most important ingredient in gluten-free muffins, a good flour blend will mimic the texture of wheat flour. Look for blends that include a mix of rice flour, potato starch, and tapioca flour. You can also try almond flour for a richer texture.
- Instant Yeast: Yeast is crucial for giving your muffins their rise. Instant yeast works best in this recipe because it doesn’t require proofing.
- Xanthan Gum: This ingredient helps provide structure and elasticity in place of gluten. It’s essential for ensuring your muffins don’t turn out too crumbly or dense.
- Eggs: Eggs act as a binder, helping to hold the dough together while giving it a fluffy texture. They also add richness.
- Dairy-Free Milk: If you want to make your muffins dairy-free, use almond milk, oat milk, or coconut milk. These will keep the batter moist and tender.
- Sugar: A little sugar is necessary to feed the yeast and help your muffins rise.
- Salt: A pinch of salt helps balance the flavors and enhances the overall taste of the muffins.
- Butter: Use either regular butter or a dairy-free alternative. Butter adds richness and a slight savory flavor to the muffins.
Optional Add-ins and Variations
To add your own unique twist to the recipe, you can try incorporating a variety of ingredients:
- Herbs: Add some fresh rosemary or thyme for a savory variation.
- Cheese: Grated cheddar, parmesan, or mozzarella can be mixed into the dough for a cheesy muffin.
- Dried Fruit: Raisins, cranberries, or even apricots will bring a sweet, fruity note to your muffins.
- Seeds: For added texture, sprinkle sunflower seeds, chia seeds, or sesame seeds on top before cooking.

Step-by-Step Guide to Making Gluten-Free English Muffins
Now that you have all your ingredients, it’s time to start baking! Here’s how you can make gluten-free English muffins right at home.
Step 1: Prepare Your Ingredients
Ensure all ingredients are at room temperature before starting. This will help the yeast activate better and ensure your muffins bake evenly. Measure the ingredients carefully for the best results.
Step 2: Activate the Yeast
- In a small bowl, combine the warm dairy-free milk, sugar, and instant yeast. Stir to dissolve the sugar.
- Allow the mixture to sit for about 5-10 minutes until it becomes frothy. This indicates that the yeast is properly activated and will help your muffins rise.
Step 3: Mix the Dry Ingredients
- In a large mixing bowl, whisk together the gluten-free flour blend, xanthan gum, and salt. Make sure to sift the flour to avoid clumps in your dough.
Step 4: Combine Wet and Dry Ingredients
- In a separate bowl, whisk together the egg and melted butter.
- Pour the yeast mixture into the dry ingredients and stir until a dough forms. It should be sticky but manageable.
Step 5: Knead the Dough
- Turn the dough out onto a lightly floured surface. Knead gently for 3-4 minutes until it becomes smooth. Gluten-free dough is typically stickier than traditional dough, so don’t worry if it feels different from what you’re used to.
Step 6: Shape the Muffins
- Divide the dough into 6-8 equal portions, depending on how large you want your muffins. Roll each portion into a round ball.
- Place the dough balls on a baking sheet lined with parchment paper, leaving some space between them to allow for rising.
Step 7: Proof the Dough
- Cover the dough with a clean towel and let it rise in a warm place for about 30 minutes. The muffins should puff up slightly.
- Preheat a griddle or non-stick skillet over medium heat while the dough rises.
Step 8: Cook the Muffins
- Once the dough has risen, place the muffins on the preheated griddle.
- Cook each muffin for 5-6 minutes on each side, pressing down gently with a spatula to ensure they cook through evenly.
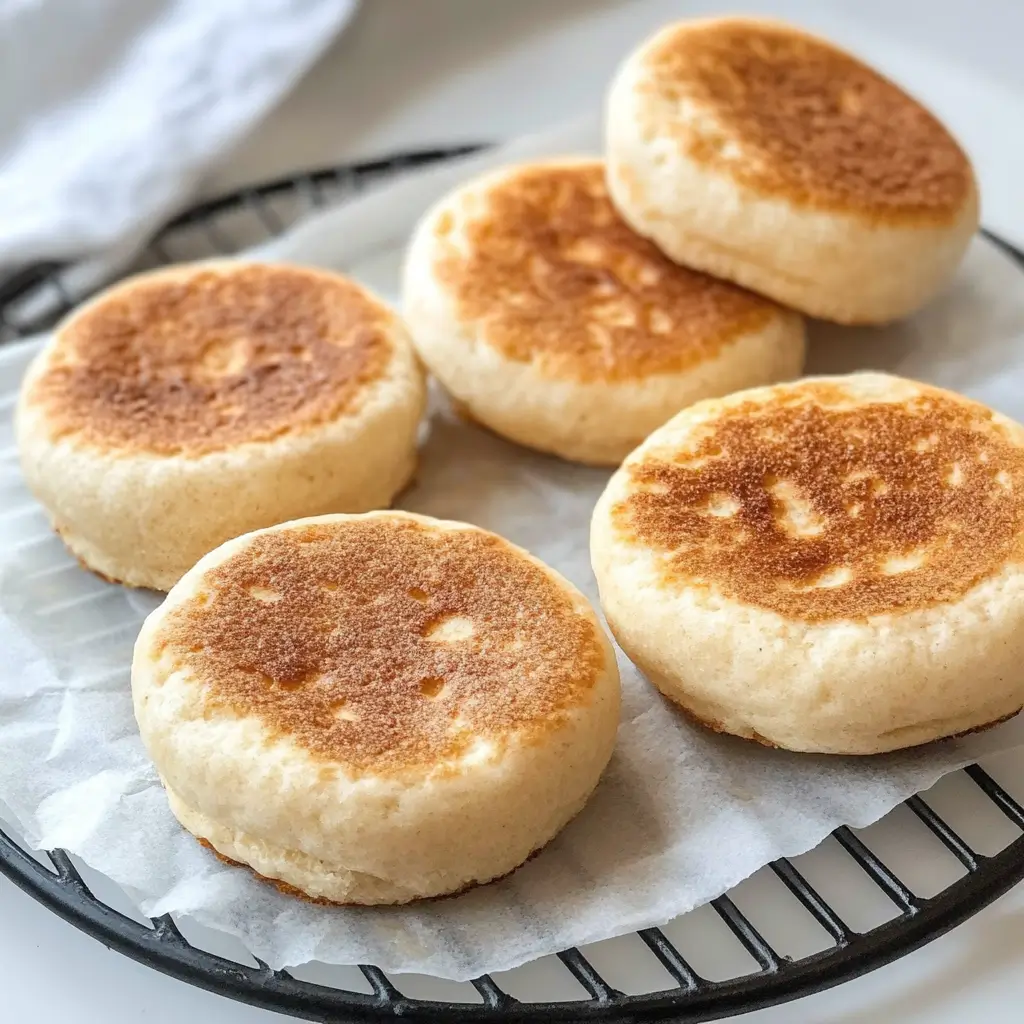
- The muffins should turn golden brown on the outside and be cooked through in the middle.
Step 9: Let Them Cool
- Allow the muffins to cool slightly before slicing. You can enjoy them warm, toasted, or at room temperature, depending on your preference.
Troubleshooting Common Issues
Sometimes things don’t go as planned when baking, so here are some troubleshooting tips to ensure your gluten-free English muffins come out perfectly every time.
Problem: Dense Muffins
If your muffins turn out dense, there could be a few reasons:
- Yeast wasn’t activated properly: Be sure to allow the yeast mixture to sit until frothy.
- Dough was overworked: Gluten-free dough is delicate, so be gentle when kneading.
- Not enough rise time: Give the dough enough time to proof before cooking.
Problem: Uneven Cooking
If your muffins aren’t cooking evenly:
- Adjust the heat: Too high a heat can burn the outside while leaving the inside raw. Medium heat works best.
- Don’t overcrowd the pan: Leave enough space between the muffins to ensure even cooking.
Creative Ways to Use Gluten-Free English Muffins
These gluten-free muffins are incredibly versatile. Here are some ideas for how to enjoy them:
- Breakfast Sandwiches: Top a muffin with scrambled eggs, cheese, and your favorite breakfast meats.
- Avocado Toast: Toast the muffin halves and spread on mashed avocado, a sprinkle of salt, and pepper for a simple, healthy snack.
- Mini Pizzas: Use the muffin halves as a base for mini pizzas. Add marinara sauce, cheese, and your favorite toppings.
- Sweet Treats: Spread butter, honey, or your favorite jam for a sweet breakfast.
Nutritional Benefits of Gluten-Free English Muffins
How Gluten-Free English Muffins Compare to Traditional Muffins
One of the advantages of making your own gluten-free English muffins is the ability to control what goes into them. When compared to store-bought muffins, homemade gluten-free versions can be lower in calories and higher in fiber, especially if you opt for a blend that includes ingredients like almond flour or flaxseeds.
Here’s a quick comparison of the nutritional content:
| Nutrient | Gluten-Free Muffin (1 serving) | Traditional Muffin (1 serving) |
|---|---|---|
| Calories | 150 | 200 |
| Carbohydrates | 30g | 35g |
| Fiber | 3g | 1g |
| Protein | 4g | 3g |
Homemade gluten-free muffins can be a healthier alternative without sacrificing taste or texture.
Frequently Asked Questions (FAQ)
Can I make these muffins vegan?
Yes, you can! Simply replace the eggs with flax eggs (1 tablespoon ground flaxseed + 3 tablespoons water) and use dairy-free milk and butter.
How do I store gluten-free English muffins?
Store your muffins in an airtight container at room temperature for up to 3 days. You can also freeze them for longer storage—just toast them when you’re ready to enjoy!
Can I add other ingredients like cheese or herbs?
Absolutely! Customize the recipe by adding shredded cheese, herbs, or spices to the dough. You can create endless variations of these muffins to suit your tastes.
Are gluten-free English muffins healthier than regular muffins?
Yes, gluten-free English muffins can be healthier, especially if you use whole grain flour alternatives and add ingredients like seeds or nuts for extra fiber and protein. They’re a great option for people with gluten sensitivities or those looking to reduce gluten in their diet.
Conclusion
Making gluten-free English muffins is easier than you might think, and the result is a delicious, light, and fluffy treat that’s perfect for any time of the day. Whether you enjoy them with jam, cheese, or in a breakfast sandwich, these muffins will quickly become a staple in your gluten-free kitchen. So go ahead, give this recipe a try, and enjoy a freshly baked batch of gluten-free muffins that taste just as good as the original.
Try These Extra Recipes
Gluten-Free Dutch Baby
Gluten-Free Buttermilk Biscuits
Gluten Free Biscuit Recipe